In the previous article, we learned to use different Font properties using VBA. Today we will learn to wrap text in Excel with the help of VBA. Text Wrapping allows the text in a cell to move to the next line to confine it to the cell width.
So let us start learning.
WrapText Property in VBA
In VBA, we can use the WrapText property with the Range Object to wrap the text content. WrapText is a both Read and Write property. This means that we can change its value for a Range. It can be either True or False. We can also print the value of the WrapText property for a Range.
The following is the syntax of the WrapText property when used with a Range Object.
<Range_Object>.WrapText=True/FalseExamples to Wrap Text Using VBA
In this section of the blog, we will implement a number of examples to wrap cell text using VBA.
Example 1 – Wrap Cell Text
We can use the Cells function to refer to a single cell and then use the dot operator to access the WrapText property of the Cell. The Cells function requires the row and column index to refer to the intersection forming cell.
For instance, you can use the following Sub Procedure to wrap the contents of cell A1 of the Active Sheet.
Also Read: How to Wrap Text in Excel Cell
Sub wrapCellText()

'wrap the contents of cell A1
'***************************************
ActiveSheet.Cells(1, 1).WrapText = True

'adding cell value
'***************************************
ActiveSheet.Cells(1, 1).Value = _
"Learning VBA with ExcelUnlocked"

'changing cell style (optional)
'***************************************
ActiveSheet.Cells(1, 1).Style = "good"

End Sub
This is the result you get.


Example 2 – Wrap Text for Range
We can apply the WrapText property to the range. We will use the Range property and specify the range of cells.
For example, you will use the following property to wrap the contents of the range A1:A4.
Sub wrapRangeText()
With Range("A1:A4")
    'wrap the contents of range A1:A4
    '**************************************
    .WrapText = True

    'adding cell value
    '***************************************
    .Value = "Change Cell Value"

    'changing cell style (optional)
    'and alignment
    '***************************************
    .Style = "bad"
    .HorizontalAlignment = xlCenter

End With
End Sub
When you run the Sub procedure, the cell content for range A1:A4 is wrapped to fit the column width.

Example 3 – Apply Text on Non-Contiguous Range
We can apply the text wrapping on a Noncontiguous range of cells in one line of code. We will separate the two ranges using a comma and then use the WrapText property.
Range("<range1>,<range2>").WrapText=TrueFor example, we can wrap the contents of range A1:C1 and A5:C5 as follows.
Sub wrapNonContiguousRange()

'wrap contents of non contiguous range
'****************************************
With Range("A1:C1,A5:C5")

    'wrap text
    '***********************************
    .WrapText = True

    'apply italic
    '***********************************
    .Font.Italic = True

    'change value
    '***********************************
    .Value = "this content is wrapped"

    'apply formatting
    '***********************************
    .Interior.Color = RGB(204, 204, 255)
    .Font.Color = RGB(102, 102, 255)
    .HorizontalAlignment = xlCenter

End With
End Sub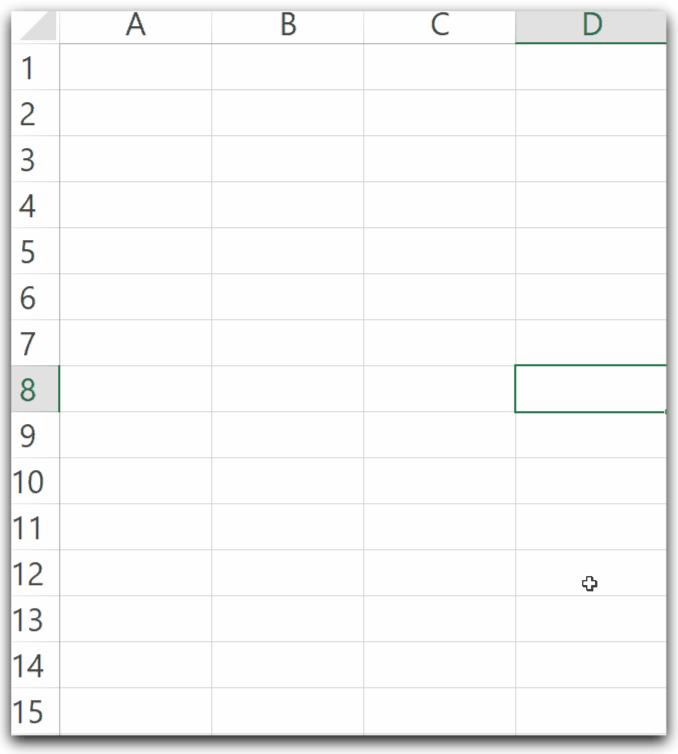
Example 4 – Wrap Text for Selected Range
We can use the Selection property to access the selected range of cells. This will help us to wrap the contents of the selected range only. The range can be selected before we run the macro.
Sub wrapSelectedRange()

'wrap contents of selected range of cells
'****************************************
With Selection

    'wrap text
    '***********************************
    .WrapText = True

    'apply italic
    '***********************************
    .Font.Italic = True


    'apply formatting
    '***********************************
    .Style = "neutral"
    .HorizontalAlignment = xlCenter


End With
End Sub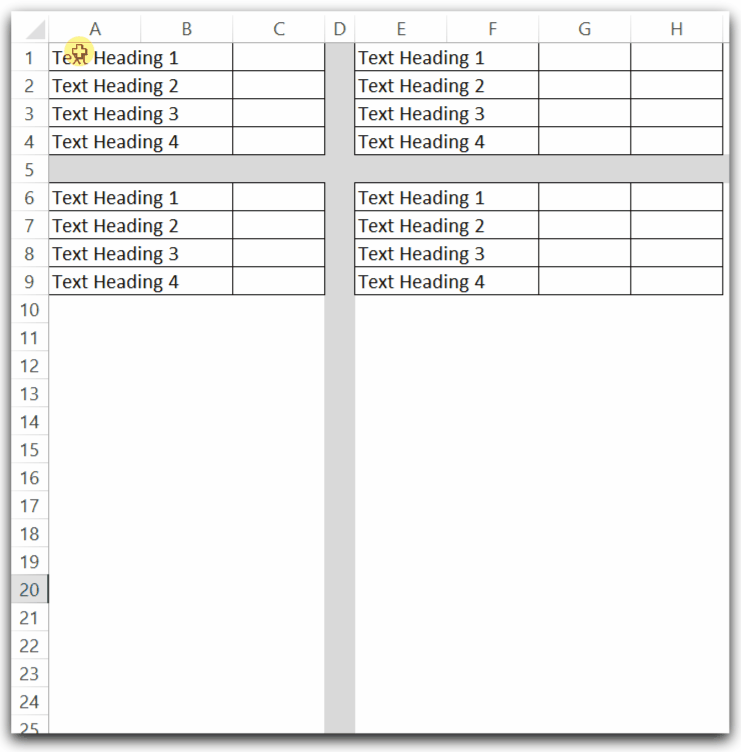
Hold the Ctrl Key while selecting non contiguous ranges.
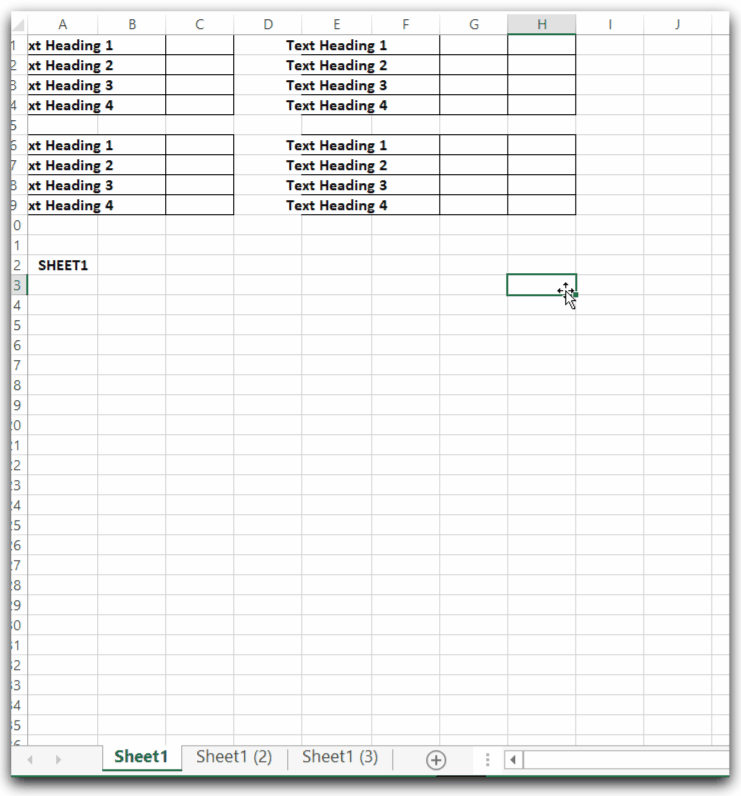
Example 5 – Wrap Contents of All Cells of Workbook
We can wrap all the cells of the worksheets of the workbook. We can access all the cells of a worksheet with the help of the cells property of the worksheet.
Sub wrapAllCells()
'wrap the contents of all cells of workbook
Dim ws As Worksheet
Dim mycell As Range
For Each ws In Worksheets
        With ws.Cells
            .WrapText = True
            .Interior.Color = RGB(240, 128, 128)
            .Font.Color = RGB(220, 20, 60)
            .Font.Bold = True
        End With
Next ws
End Sub
When you run this sub procedure, wraps text in all the cells of worksheets of the workbook.
This brings us to an end.
Thank you for reading. ❤